DELOBJ
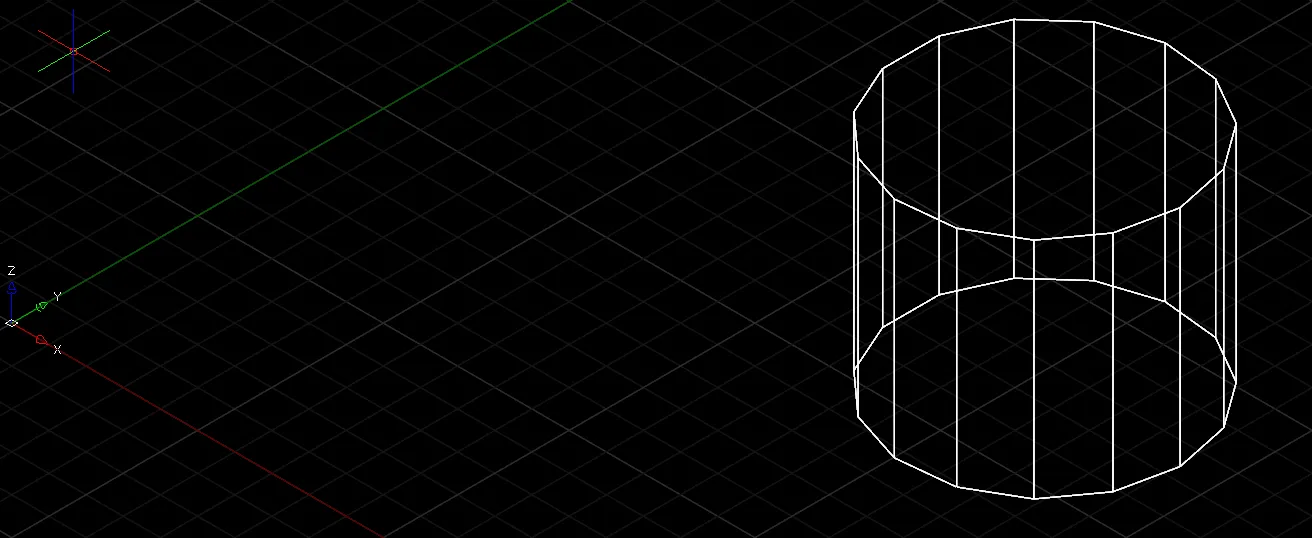
- Sets whether the original 2D object is retained when creating a 3D object from it.
- You can verify the “DELOBJ” command by creating a 3D object and checking the result.
- For clear verification, set the ViewCube so that the X, Y, and Z axes are all visible in the drawing.
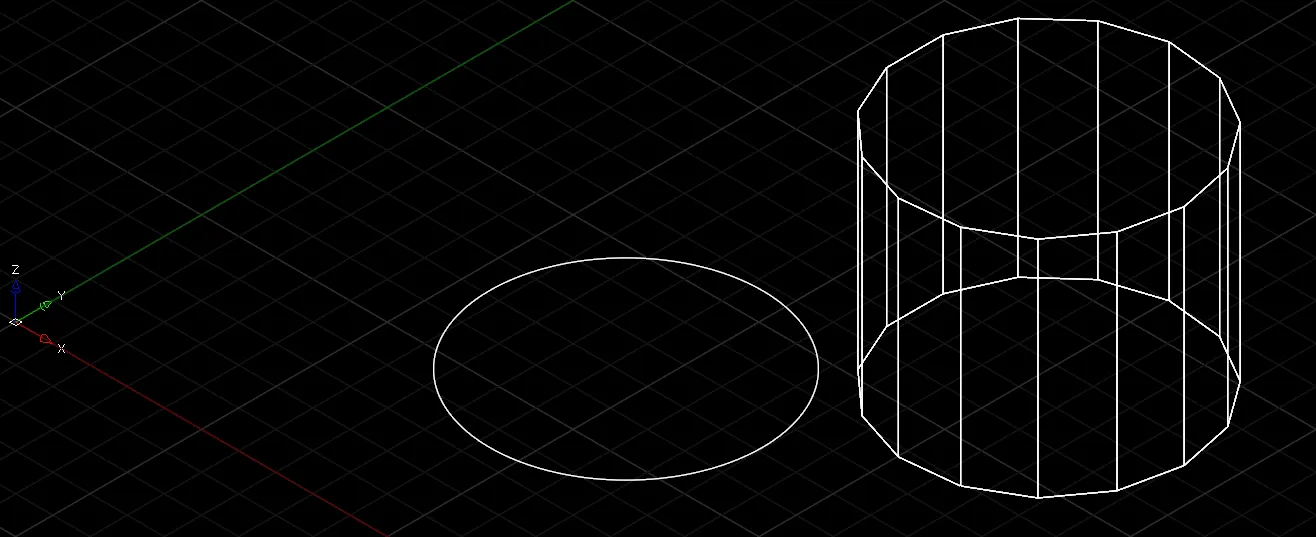
- DELOBJ = 0 : Retain the original.
- DELOBJ = 1 : Delete the original.

1. Creating a 3D Object from a 2D Object Demo Video
Section titled “1. Creating a 3D Object from a 2D Object Demo Video”1) Set the ViewCube in the upper-right corner so that the X, Y, and Z axes are all visible in the drawing.
2) To create a closed object, run the “CIRCLE” command and create it by clicking the mouse.
3) Run the “EXTRUDE” command.
4) Select the circle (a closed object), and press ENTER or the Space bar.
5) To specify the height, click the mouse, then position the cursor for the second point along the Z axis and click.



2. Creating a 3D Object While Retaining the 2D Object Demo Video
Section titled “2. Creating a 3D Object While Retaining the 2D Object Demo Video”1) Run the “DELOBJ” command.
2) Enter a value of 0, and press ENTER or the Space bar.
3) Set the ViewCube in the upper-right corner so that the X, Y, and Z axes are all visible in the drawing.
4) To create a closed object, run the “CIRCLE” command and create it by clicking the mouse.
5) Run the “EXTRUDE” command.
6) Select the circle (a closed object), and press ENTER or the Space bar.
7) To specify the height, click the mouse, then position the cursor for the second point along the Z axis and click.
8) To confirm that the circle object is retained, run the “MOVE” command.
9) Select the created 3D object, and press ENTER or the Space bar.
10) Click the mouse to specify the base point, then click the mouse to specify the second point to move to.
3. Creating a 3D Object by Deleting the 2D Object Demo Video
Section titled “3. Creating a 3D Object by Deleting the 2D Object Demo Video”1) Run the “DELOBJ” command.
2) Enter a value of 1, and press ENTER or the Space bar.
3) Set the ViewCube in the upper-right corner so that the X, Y, and Z axes are all visible in the drawing.
4) To create a closed object, run the “CIRCLE” command and create it by clicking the mouse.
5) Run the “EXTRUDE” command.
6) Select the circle (a closed object), and press ENTER or the Space bar.
7) To specify the height, click the mouse, then position the cursor for the second point along the Z axis and click.
8) Confirm that the circle object has been deleted.