
HATCH
-
Fills a closed area with various patterns or colors.
-
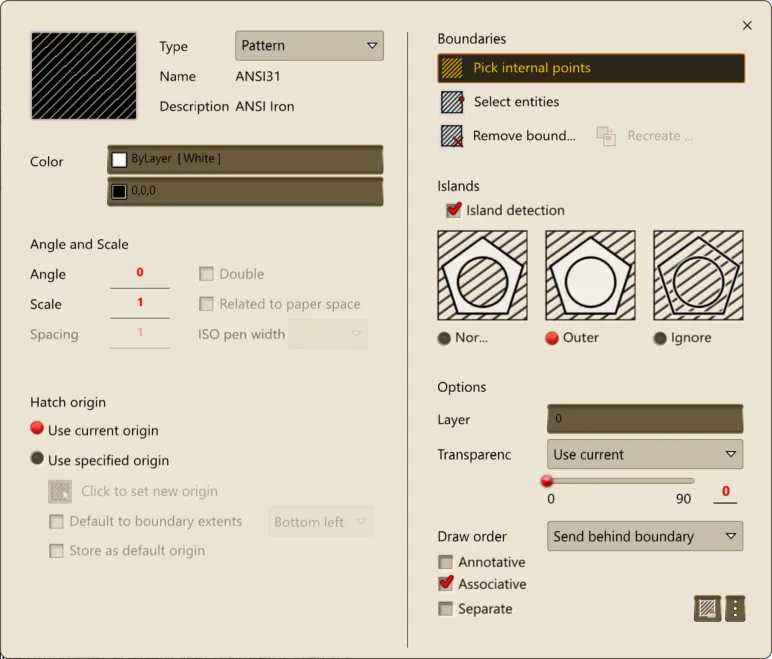
Typing the HATCH command opens the HATCH popup window.
-
When a closed area is selected, that area is filled with the pattern.
-
Changing TYPE lets you select Pattern, Solid, or Gradient.
-
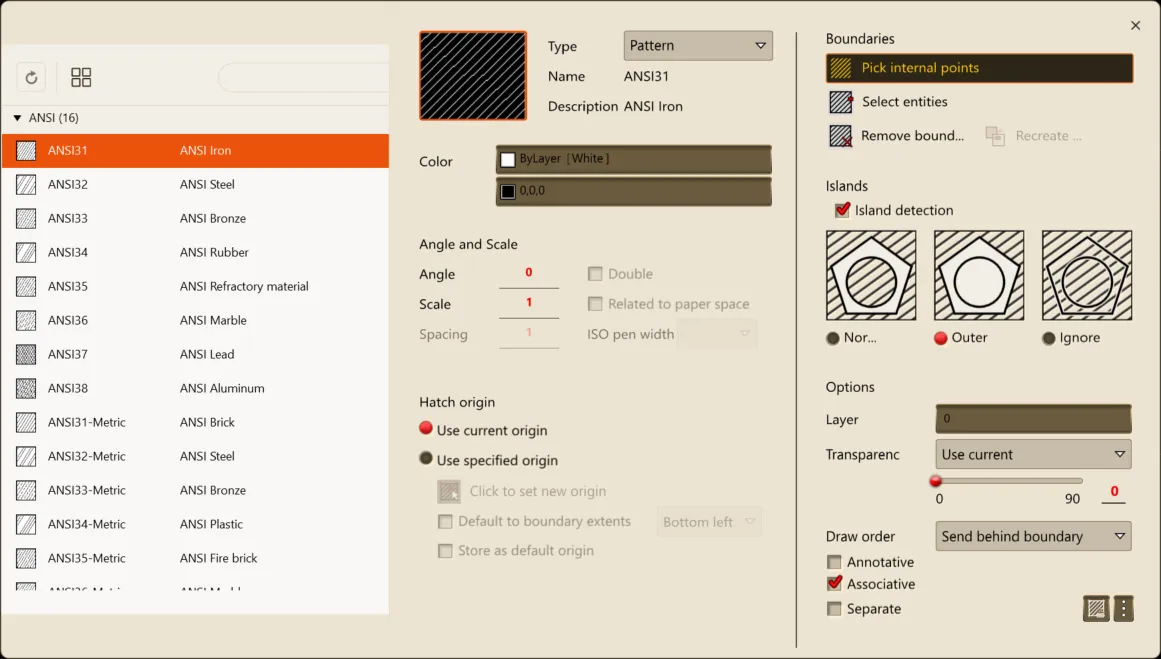
Clicking the pattern image opens the pattern selection screen on the left.
-
In the Color section, use the upper color button to select the pattern color and the lower button to select the background color.
-
Use the Angle field to set the rotation angle of the hatch pattern. The default value is 0 degrees.
-
Use the Scale field to adjust the size of the pattern. The larger the value, the wider the spacing between pattern elements; the smaller the value, the narrower the spacing.
-
The Hatch Origin field lets you specify the starting point of the hatch pattern.
-
The Boundaries field lets you select how to specify the area to apply the hatch to.
-
The Islands field lets you select how the hatch is handled when another closed area exists inside the boundary the hatch is applied to.
-
The Options field lets you set the layer, transparency, draw order, and more.
-
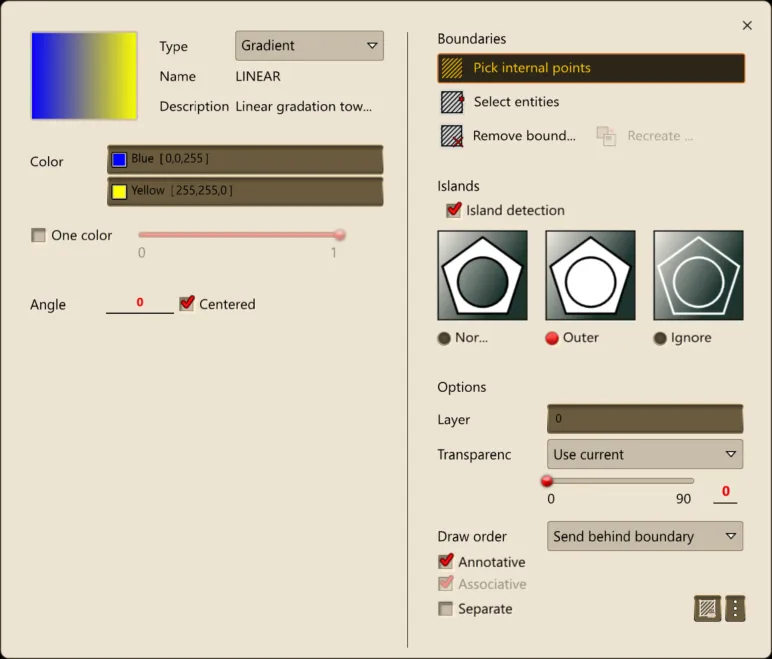
If you select Gradient from Type, you can select the color and angle.
1. Adding a Hatch (Solid and Pattern) Demo Video
Section titled “1. Adding a Hatch (Solid and Pattern) Demo Video”- Run the HATCH command.
- In the HATCH settings window, set the solid or pattern to fill the area with.
- When a closed area is selected, that area is filled with the selected solid or pattern.